13.1. Downloading and Setting up your lab in Eclipse
The following are instructions for setting up your first Eclipse project, and how to download and import a zip file into that project.
13.1.1. Importing a Lab
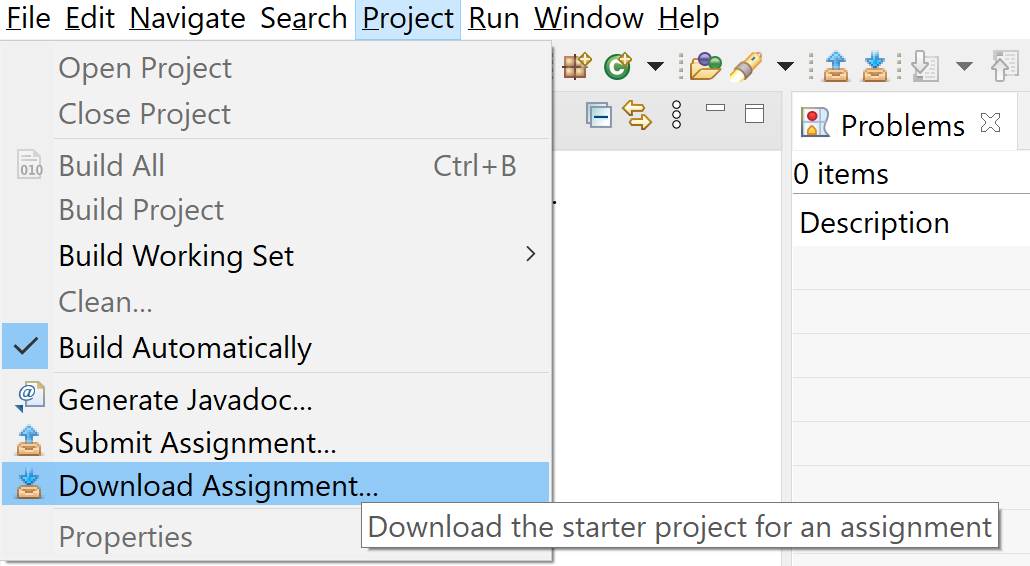
Go to Projects > Download Project
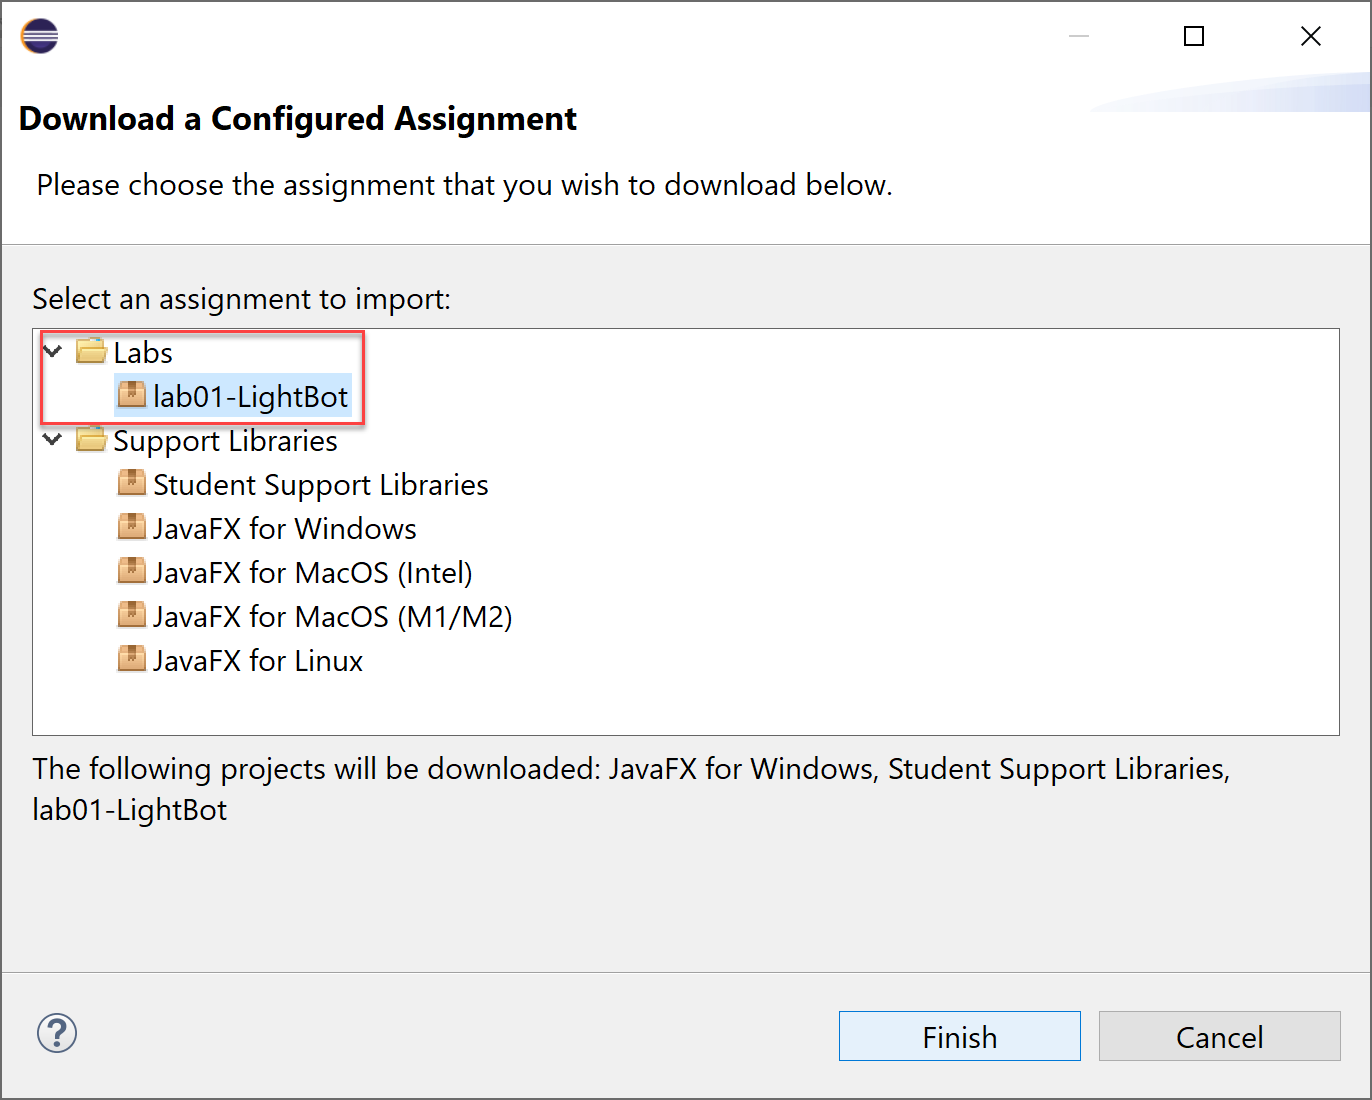
Look for the relevant lab or project. In this case, we’ll be importing Lab 1
Select the lab and click Finish. It may take a few minutes for the download to complete.
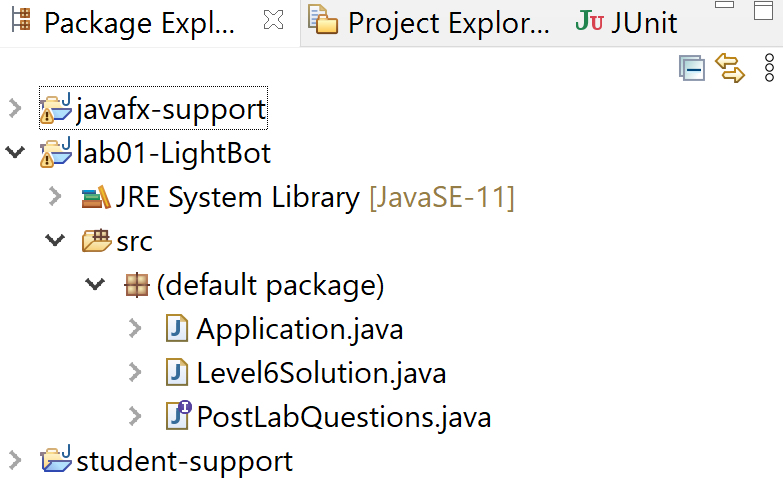
Lets take a look the the Package Explorer. If this is your first time downloading a lab you’ll notice 2 packages were downloaded!
If you don’t see a tab labelled Package Explorer, Project Explorer will be very identical in function for our purposes.
You can also go to Window > Show View > Other > and search for “Package Explorer” if you want.
The “javafx-support” and “student-support” projects are full of code that all the code you will write in this class will rely on. However, we don’t need to interact with it. Instead, let’s look at “lab01-LightBot” in the “src” folder.
Inside you’ll see what’s called a “package” called “(default package)” and inside that there are the two java files you’ll need to work with for Lab 01
Double-clicking on any of these files will cause them to appear for you to edit and write code in.
13.1.2. Setting up your Run Configuration (Windows Only)
Creating a new run environment
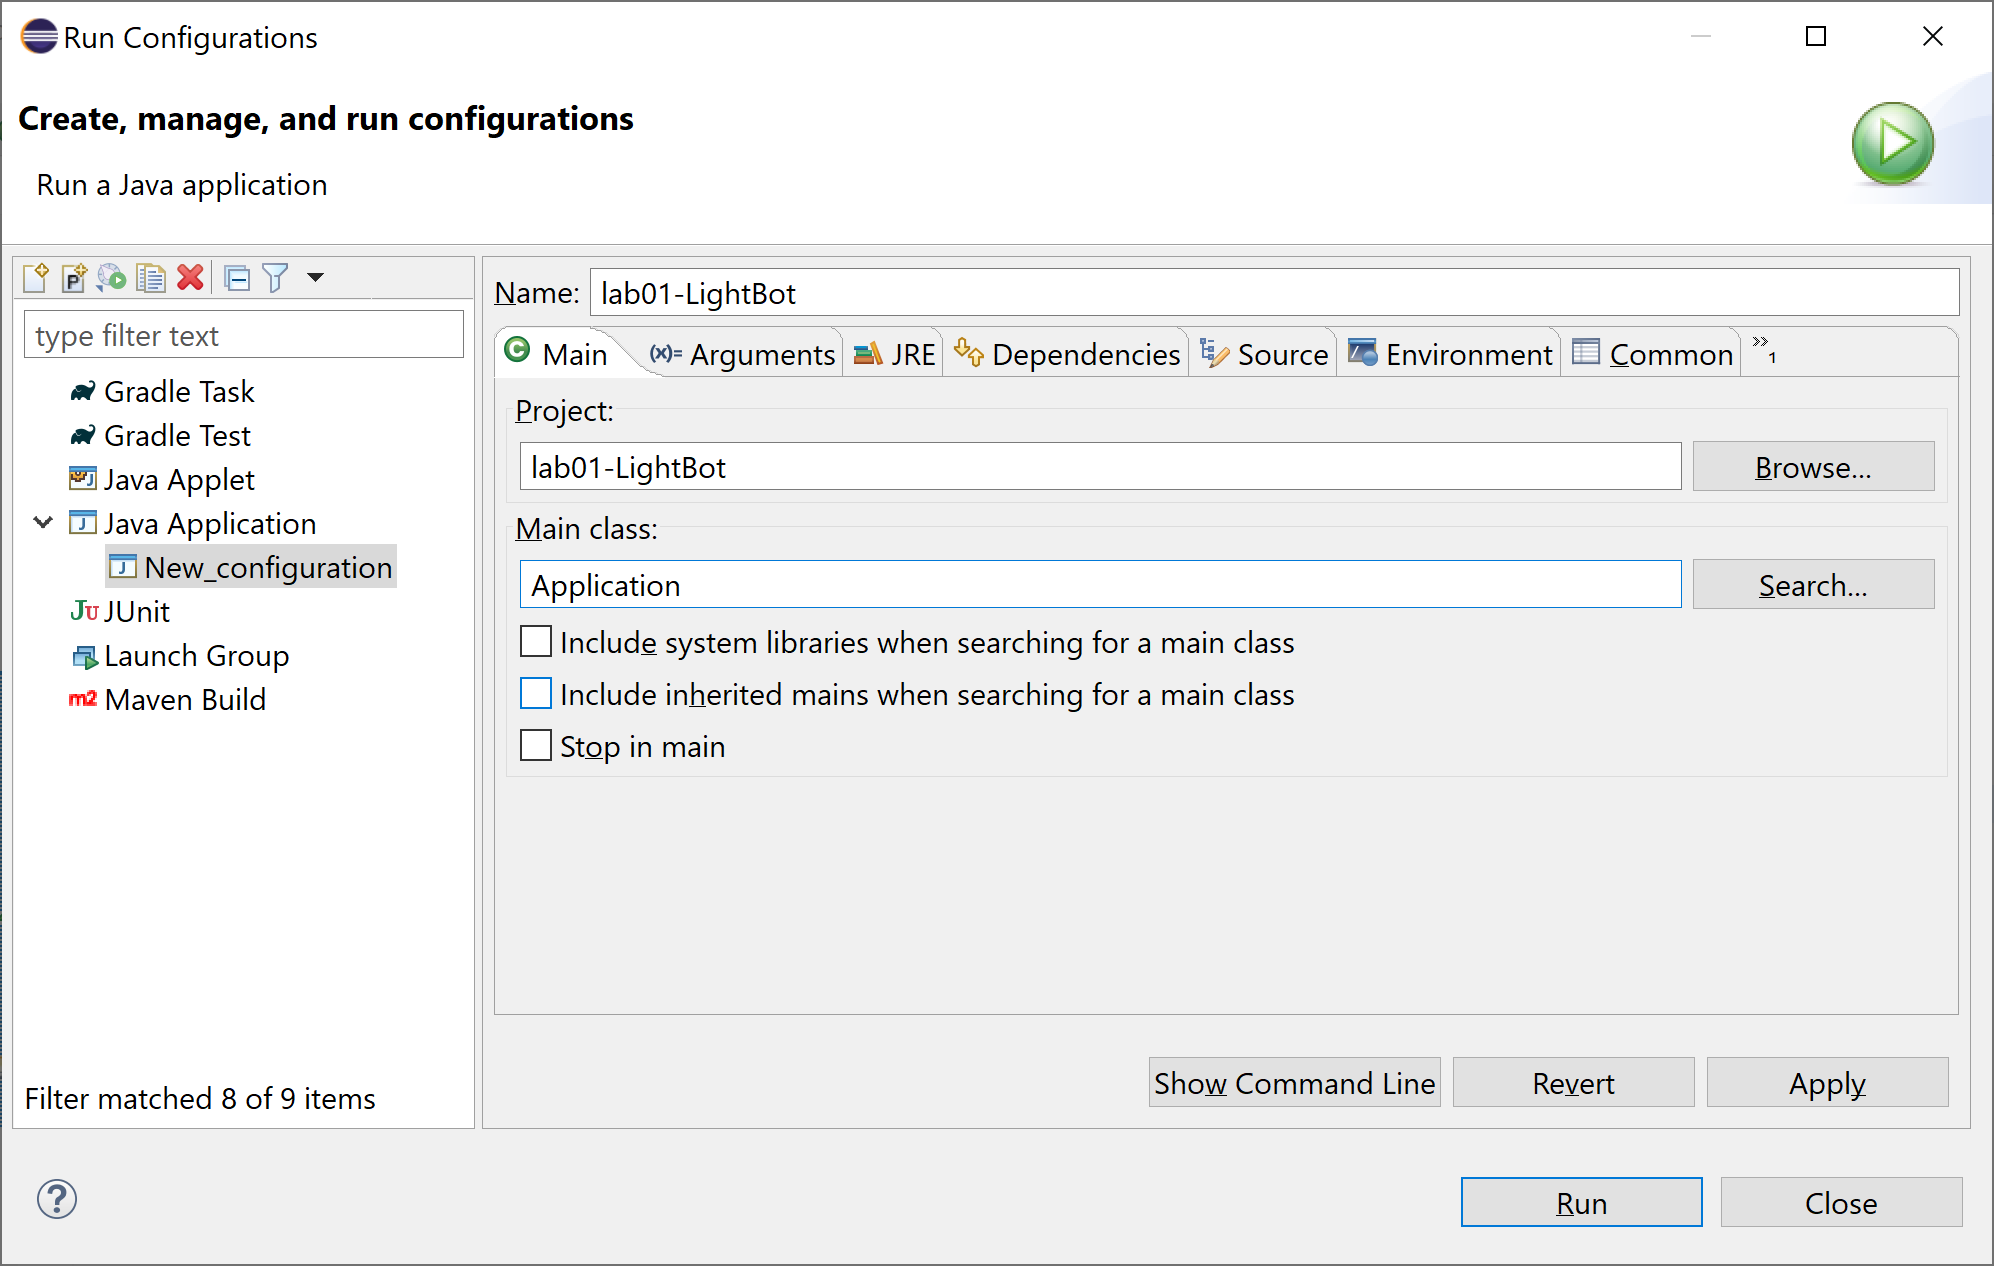
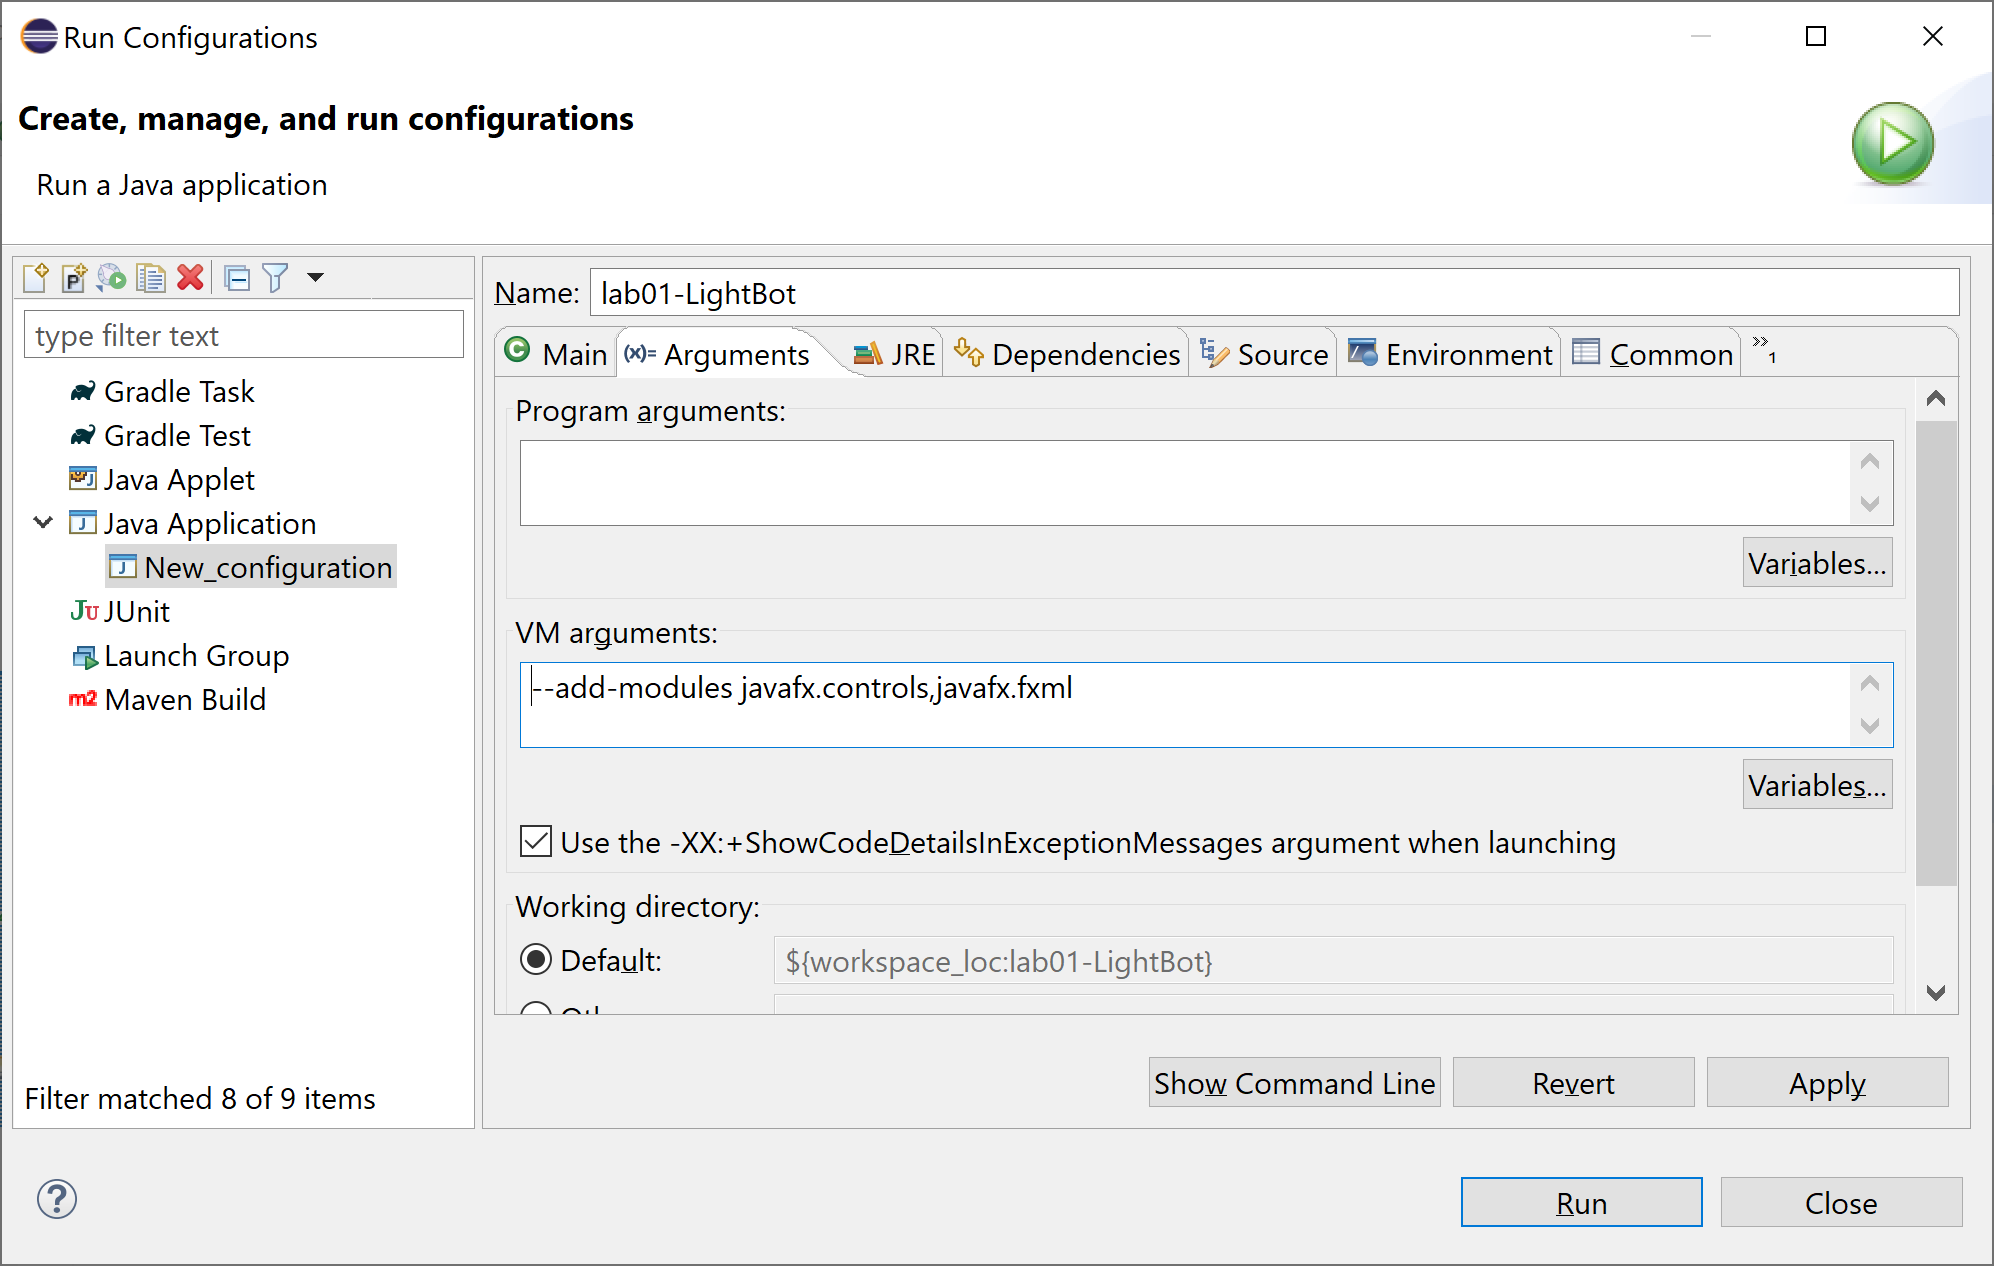
Use Run > Run Configurations… to open the run configs dialog.
Right-click on “Java Application” in the list on the left and choose “New Configuration” to create a new run configuration.
Put “lab01-LightBot” (or the name of the project you’re working on) in the “name” field at the top of the new run config.
Under the “Main” tab, select the “lab01-LightBot” project in the “Project:” field.
Under the “Main” tab, enter “Application” in the “Main class:” field:
Under the “Arguments” tab, enter
--add-modules javafx.controls,javafx.fxmlin the “VM arguments:” field.
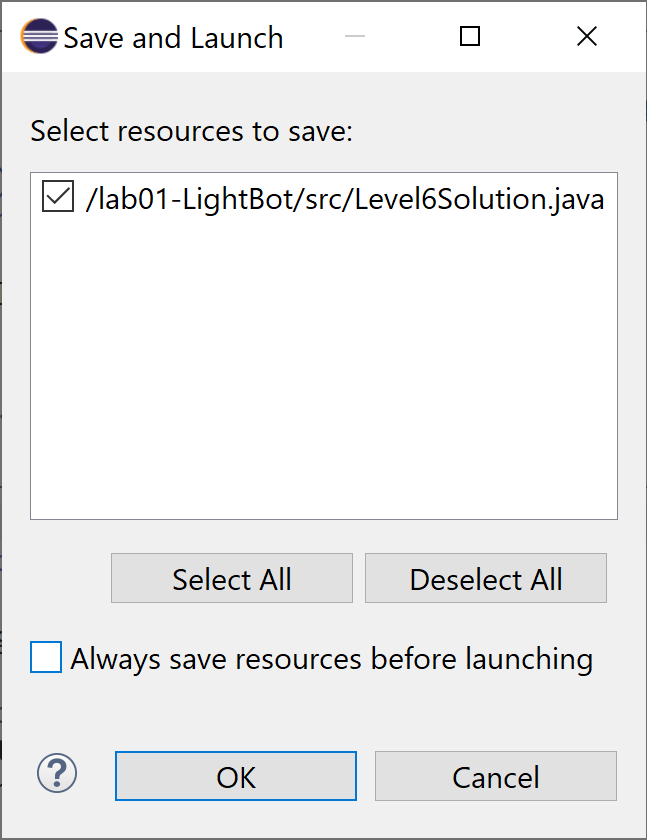
Click “Apply” to save the run config, then “Run” to launch it. The RunConfig window will disappear and you’ll see this:
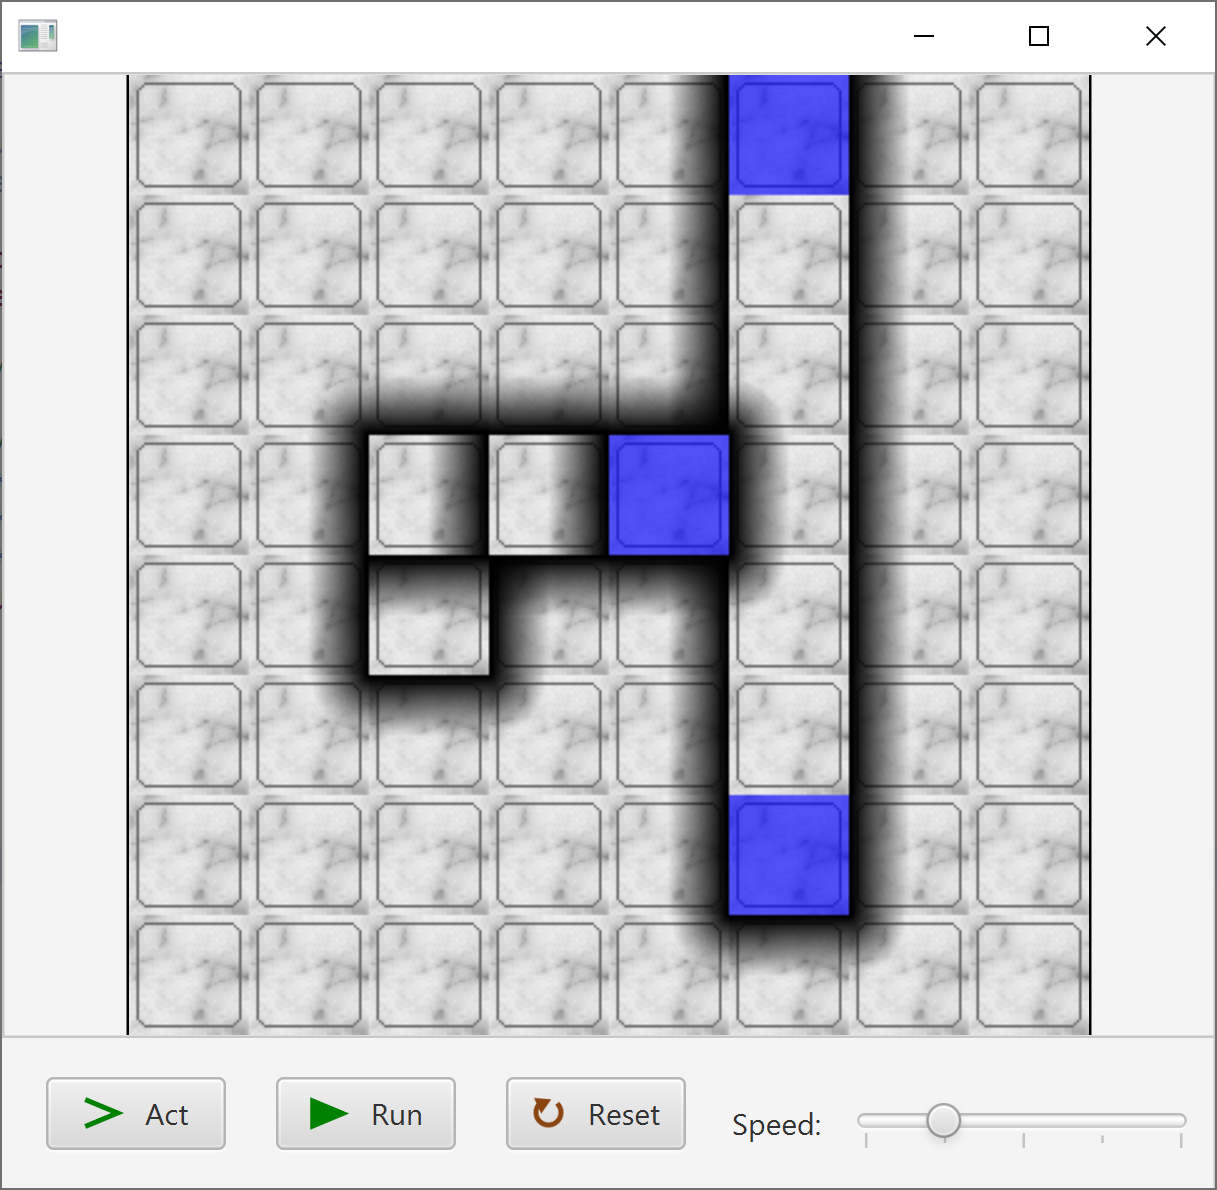
Click OK and you’ll see a visualization of the micro world appear and pressing run will cause the agent to appear on the micro world!
You’ll need to make sure all code that uses a visualization component (anything involving lightbot or jeroos) uses this run environment. If you see the following error, it is a signal that you have not set up that code to use this run environment


